
Project Hub

Overview
In this tutorial, you will learn how to up load and download data to/from a Firebase database with Arduino UNO and ESP8266 (ESP-01) module.This tutorial include every steps for this project.(especially good for beginners)What You Will Learn- How to make a database in Firebase.
- How to upload and download data from Firebase.
- How to use ESP8266 as a connection between Arduino and Firebase.
download Arduino IDE from following link.
https://www.arduino.cc/en/software
Step 2 : Install ESP8266 Board to Arduino IDEStart Arduino and open the Preferences window.
_N4uy8L6jgq.png?auto=compress%2Cformat&w=680&h=510&fit=max)
Enter https://arduino.esp8266.com/stable/package_esp8266com_index.json into the Additional Board Manager URLs field. You can add multiple URLs, separating them with commas.

After that open Boards Manager from Tools > Board menu and install esp8266 platform.
_0yxaDgeUGU.png?auto=compress%2Cformat&w=680&h=510&fit=max)
_bCTbWfMi4V.png?auto=compress%2Cformat&w=680&h=510&fit=max)
Select ESP8266 board from Tools > Board menu after installation.
_61I7rqKcVQ.png?auto=compress%2Cformat&w=680&h=510&fit=max)
download firebase library from following link.
https://github.com/FirebaseExtended/firebase-arduino
_nZEucanfBe.png?auto=compress%2Cformat&w=680&h=510&fit=max)
Open Sketch > include library > add.ZIP library and add ZIP library to Arduino IDE.
_sN5GCA4vaO.png?auto=compress%2Cformat&w=680&h=510&fit=max)
_4UPZdEge6f.png?auto=compress%2Cformat&w=680&h=510&fit=max)
After that go to Sketch > Include Library Verify that the library you just added available in the list.
_RBrzIuuBL9.png?auto=compress%2Cformat&w=680&h=510&fit=max)
Open Tools > Manage Library and install ArduinoJson version 5.13.5 library.

Go to firebase console from following link.
click Add project.
(If you haven't already, create a Firebase project: In the Firebase console, click Add project, then follow the on-screen instructions to create a Firebase project or to add Firebase services to an existing GCP project).

Enter Project name.

Google Analytics for your Firebase project is optional.
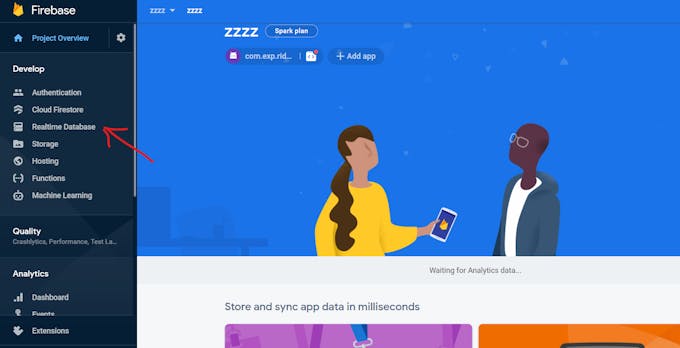
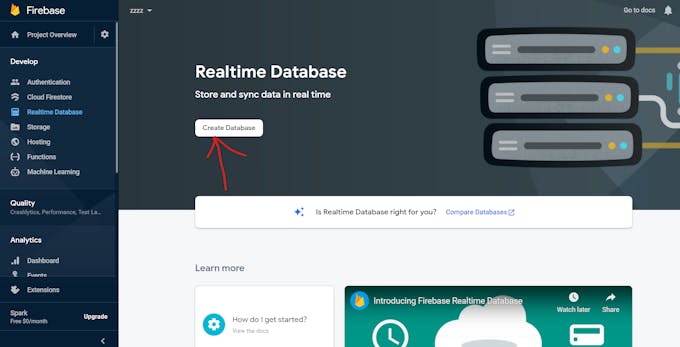
Create a Realtime Database.
Use test mode as a Security rule.

Firebase Realtime Database.

Open File > Examples > FirebaseArduino > FirebaseDemo_ESP8266.
Make Sure you Select ESP8266 board from Tools > Board menu.
_hIaY2MKGbA.png?auto=compress%2Cformat&w=680&h=510&fit=max)
_zcdMosWpGr.png?auto=compress%2Cformat&w=680&h=510&fit=max)

Set your FIREBASE_HOST.
Open your Realtime Database and copy your Firebase host to in to your arduino code (FIREBASE_HOST).
When your copy Firebase host, remove " https:// "and"/" from the Firebase host.
#define FIREBASE_HOST "your FIREBASE HOST"
for example
#define FIREBASE_HOST "werr-f374b.firebaseio.com"
_AsAWOHfepy.png?auto=compress%2Cformat&w=680&h=510&fit=max)
Set your FIREBASE_AUTH.
Open your Realtime Database and go to project overview > project settings > Service accounts > Database secrets and copy your Secret and paste in to your FIREBASE_AUTH.
#define FIREBASE_AUTH "Your secret"

Set your WIFI_SSID and WIFI_PASSWORD.
#define WIFI_SSID " your WIFI SSID"
#define WIFI_PASSWORD " your WIFI PASSWORD"
Connect to WIFI code.
// connect to wifi.
 WiFi.begin(WIFI_SSID, WIFI_PASSWORD);
 Serial.print("connecting");
 while (WiFi.status() != WL_CONNECTED) {
   Serial.print(".");
   delay(500);
 }
 Serial.println();
 Serial.print("connected: ");
 Serial.println(WiFi.localIP());
 Firebase.begin(FIREBASE_HOST, FIREBASE_AUTH);
Set Float value to database.
// set Float  value
 Firebase.setFloat("number", 42.0);
 // handle error
 if (Firebase.failed()) {
     Serial.print("setting /number failed:");
     Serial.println(Firebase.error());
     return;
 }
Update Float value.
// update Float  value
 Firebase.setFloat("number", 43.0);
 // handle error
 if (Firebase.failed()) {
     Serial.print("setting /number failed:");
     Serial.println(Firebase.error());
     return;
 }
Get Float value from database.
 // get value
Firebase.getFloat("number");
Remove value from database.
// remove value
 Firebase.remove("number");
Set string value to database.
// set string value
 Firebase.setString("message", "hello world");
 // handle error
 if (Firebase.failed()) {
     Serial.print("setting /message failed:");
     Serial.println(Firebase.error());
     return;
 }
Set bool value to database.
// set bool value
 Firebase.setBool("truth", false);
 // handle error
 if (Firebase.failed()) {
     Serial.print("setting /truth failed:");
     Serial.println(Firebase.error());
     return;
 }
Append a new value to database.
// append a new value to /logs
 String name = Firebase.pushInt("logs", n++);
 // handle error
 if (Firebase.failed()) {
     Serial.print("pushing /logs failed:");
     Serial.println(Firebase.error());
     return;
 }
Firebase Arduino API Reference (more details about the Library).
https://firebase-arduino.readthedocs.io/en/latest/
Step 7 : Connections for uploading code.Connect the pins.
The ESP8266 works with 3.3V and not 5V.
ESP8266:-------------- >Arduino:
GND -------------------------- GND
GPIO-2 (IO2) -------------------- Not connected (open)
GPIO-0 (IO0)---------------------GND
RX --------------------------------RX
TX ---------------------------------TX
CHPD (EN) ------------------------ 3.3V
RST -------------------------------- Not connected (open)
VCC (3v3) -------------------------- 3.3V
connect Arduino Uno RESET Pin to Uno's Ground/GND Pin.

Before you upload the code check following instructions.
- Select ESP8266 board from Tools > Board menu.
- Select right port from Tools > Port menu.
- Select 115200 as a upload speed from Tools > upload speed menu.
- Recheck your pins.
_NBtAHSNQpp.png?auto=compress%2Cformat&w=680&h=510&fit=max)
If you fail to upload code, remove the serial Arduino cable and plug it again and retry to upload code. (retry more than three times)
If you want to upload new code, remove the serial Arduino cable and plug it again and upload the code.
For errors, please check out this video.
Step 9 : Final step.After uploading the code, remove the serial Arduino cable and take out
GPIO-0 (IO0) from GND and plug serial Arduino cable.

Open serial monitor of Arduino IDE where you see the ESP is connected and ready.
Finally check your database.

